Mr. Osbourne,
When there is a sticky problem, our initial step is to rectify with acidifier2.0 until the finish is strong and healthy again with a squeaky feel.
Otherwise adhesion and peeling might be a problem depending what route you take as a prep.
In your typical worn and degraded pigmented finish, we agree that the logical route to take is a refinishing.
We do encourage our system user to warranty up to 5 years (to show our confidence in the Leather Doctor® system).
Do you give a Warranty?
Roger Koh
Leather Doctor®
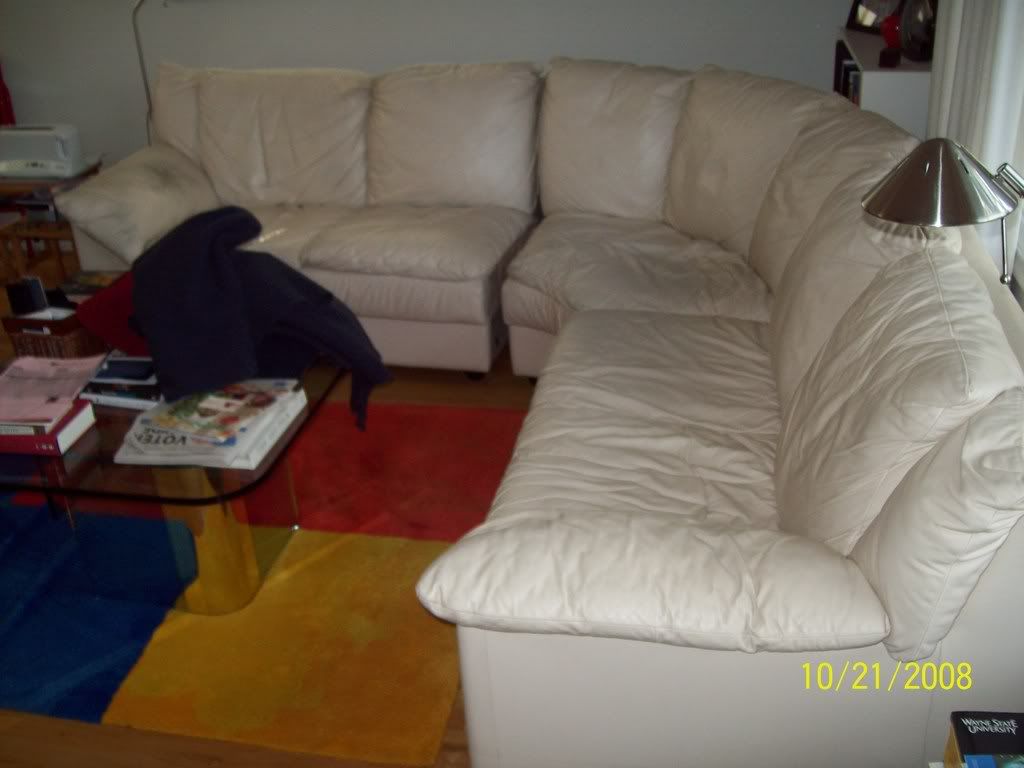
#1 Sectional before Refinishing
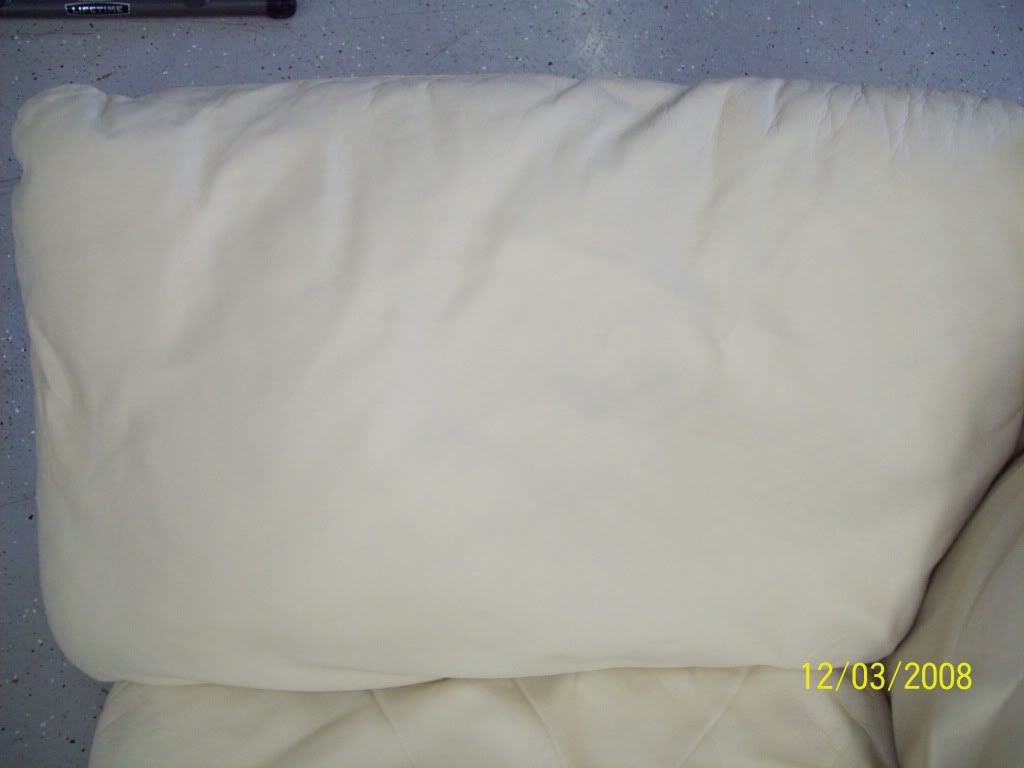
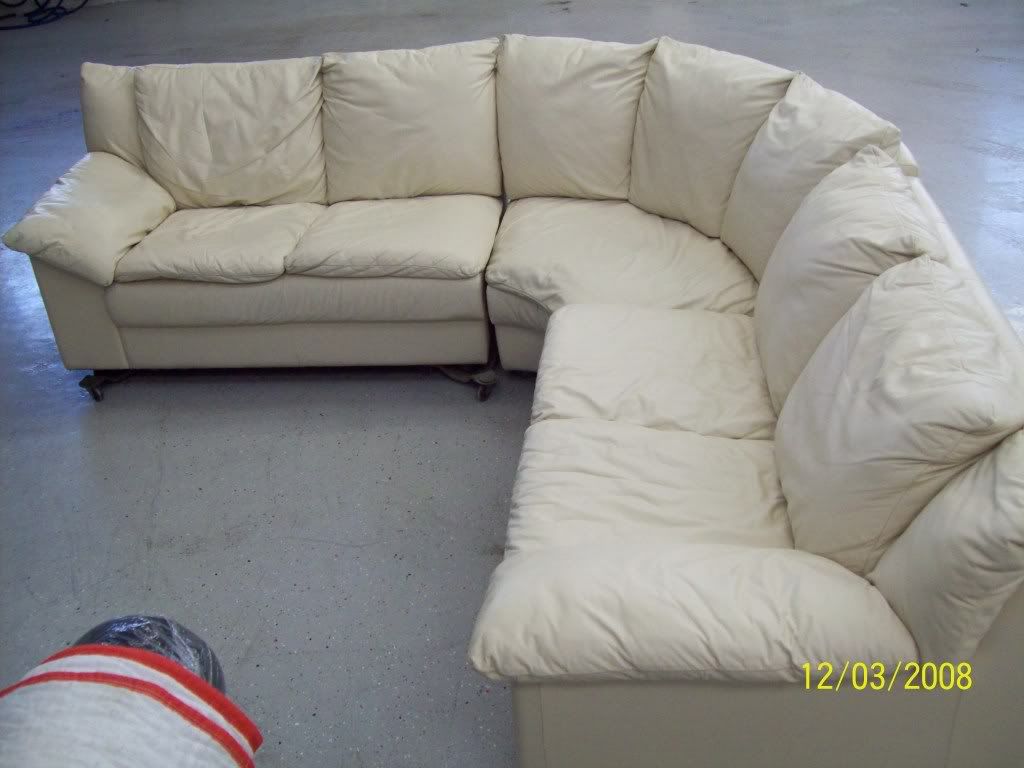
#2 Sectional after Refinishing
________________________________________
And Mr West, this detail is for you!
(This is the typical technical back-up when you are not sure).
This is the armrest proposed sequence of steps for your appraisal.
Step 1: dInk7.7 as grease and oil removal double up as prep cleaner with leatherBrush1, nubuckBrush2 & anilineEraser4 without resorting to solvent.
Let dwell 30 minutes thereafter extract until towel shows clean.
Solvent deteriorates the partial removed finish and more likely to fail on adhesion.
Solvent dries the finish plasticizers thus making it brittle and diminishes the fatliquor in the leather structure thus stiffen the leather too!
Step 2: Use clean3.8 to remove sticky residue with agitation using either brush to fit situation and extract until towel shows clean.
Step 3: Use rinse3.0 to acidifier rinse, agitate and extract until towel shows clean.
Step 4: Use relaxer3.3 to hydrate the thickness of the leather structure and best to seal it up for at least 4 to 8 hours.
Step 5: Extract as dry as possible, the worn areas with light hand scudding to squeeze out suspended foreign soil particulates without causing further damages.
Step 6: Use fatliquor5.0 to fatliquor into the moist leather structure.
Step 7: Plastic wrapped up for another 4 to 8 hours.
Step 8: Remove the plastic and let dry another 4 to 8 hours.
Step 9: When leather is dry (must be dry like normal) use an iron without steam (small travel iron) and iron over new printing paper (on wool to cotton setting) to remove all these creases.
Step 10: If the surface feels oily from the non penetrated fatliquor clean with clean3.8 follows with rinse3.0.
Step 11: Use impregnator26 and brush with a 3 foam brush to saturate all the weak and absorbent areas.
Step 12: Use a blow dryer helps the drying process.
Step 13: Now use 1000 grit to 1500 grit sandpaper and smoothen all rough spots.
Step 14: Reapply impregnator26 to satisfaction to weak absorbent areas only.
Step 15: Use a damp lint free towel and wipe off non worn areas - avoiding unnecessary build-up.
Step 16: Use adhesion73 and apply with a clean foam brush concentrating on worn areas and feather out avoiding streaks.
Step 17: Either color coat with semiColor74 or pigColor64 to match existing leather type using padding or foam brush as the first light coat without streaks, follows with air spraying.
Step 18: Follows with either semiTop57 or pigTop56 by air spraying.
Step 19: leatherScentB can be brush on with a 3 to 4 inch foam brush.
Need further explanation?
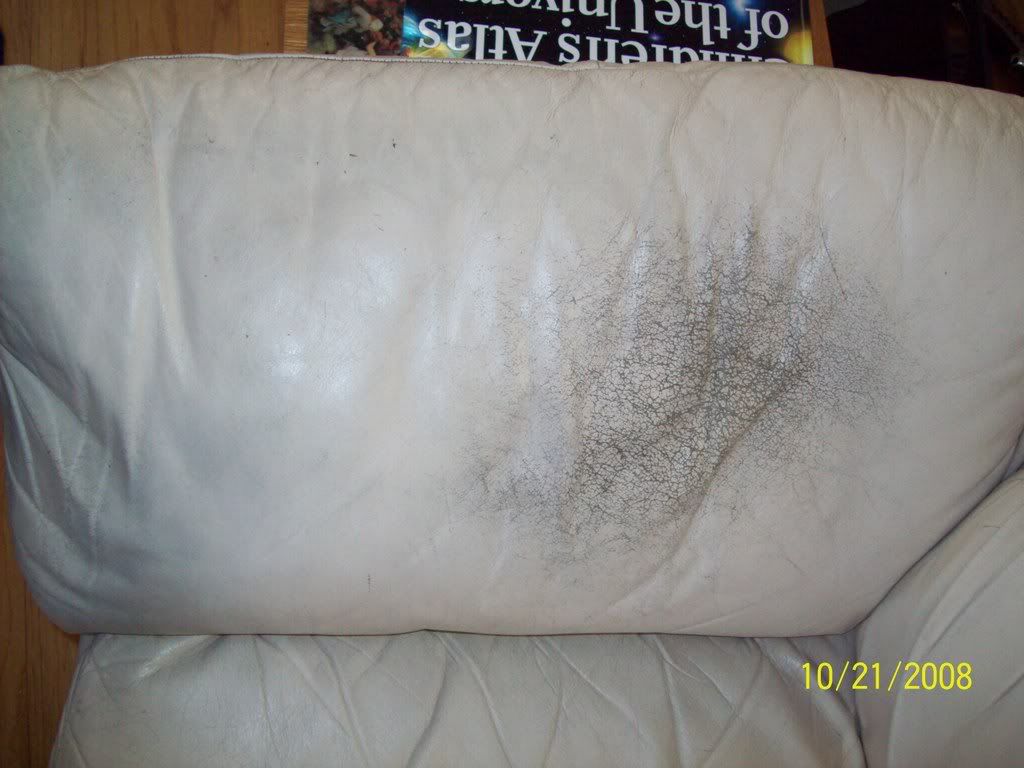
#3 Close-up before
#4 Close-up after